Remote Desktop Ubuntu – Easy Xrdp Setup
Xrdp is a free, open-source alternative to the Microsoft RDP server that allows non-Windows operating systems. It delivers an entirely operational RDP-well-matched remote desktop experience. RDP will enable you to log into a remote machine and create actual desktop sessions like you would on a local device.
Xrdp integrates parts of the RDP and X Windows systems to transmit the visuals and controls between the client and the system.
This article will cover setting up a remote desktop experience using Xrdp on Ubuntu Linux.
Install a Desktop Environment
In this part, we’ll install the Gnome desktop environment if you do not have it installed for any reason.
Installing Gnome
You may choose between a range of desktop environments in the Ubuntu Software Center. Gnome is the default environment for the recent Ubuntu versions. But if you’d like to install a desktop environment, this part of the article is exactly for you.
Before installing the Gnome, update your APT cache:
sudo apt-get update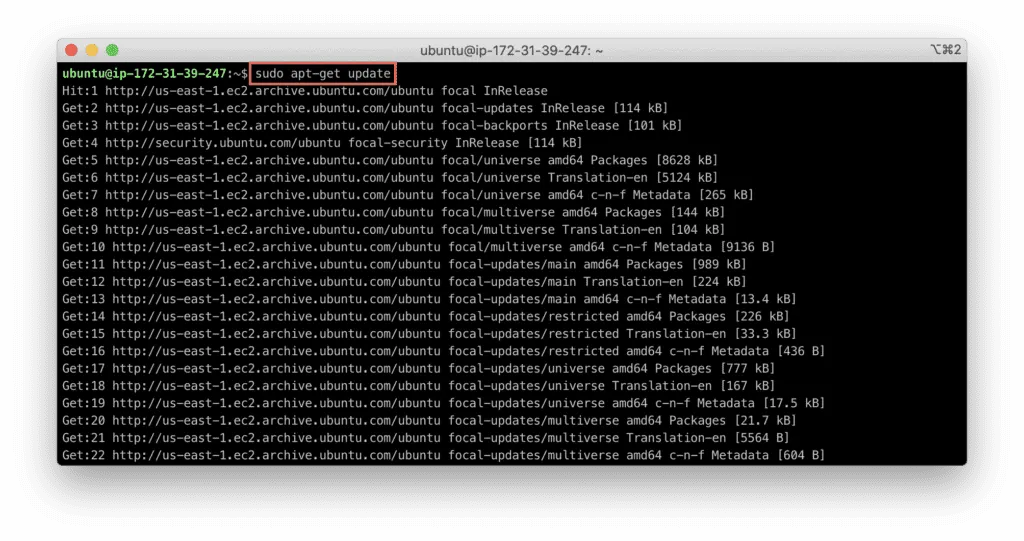
Run the command given below to install the Gnome desktop environment:
sudo apt-get install ubuntu-desktop -y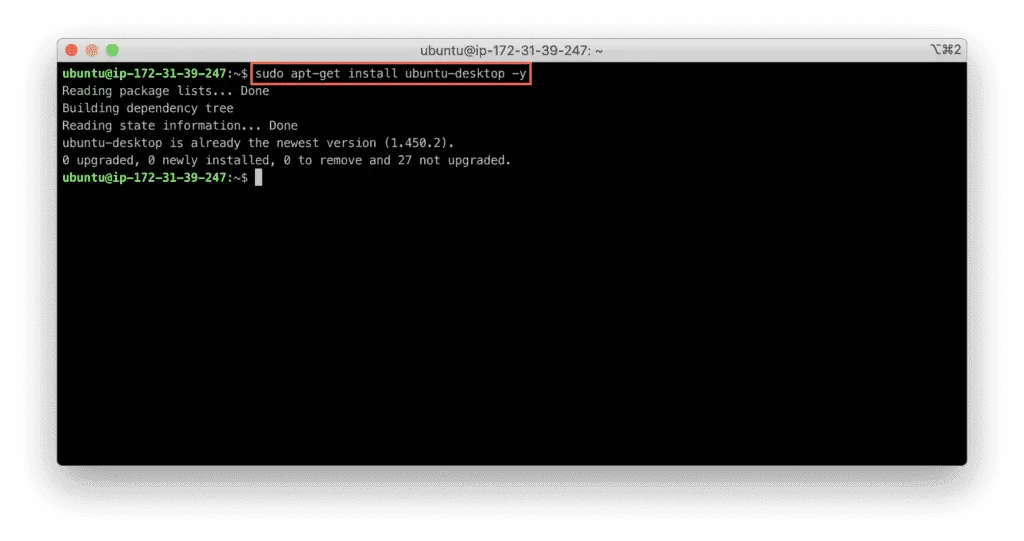
Depending on your system and internet connection, the GUI package may take some time to download and install. Therefore, before moving on to the following steps, give the installation process time to complete.
Installing Xrdp – Remote Desktop Ubuntu
Run the following command to install Xrdp:
sudo apt install xrdp -y
After you have installed Xrdp, check the service status by typing the command:
sudo systemctl status xrdp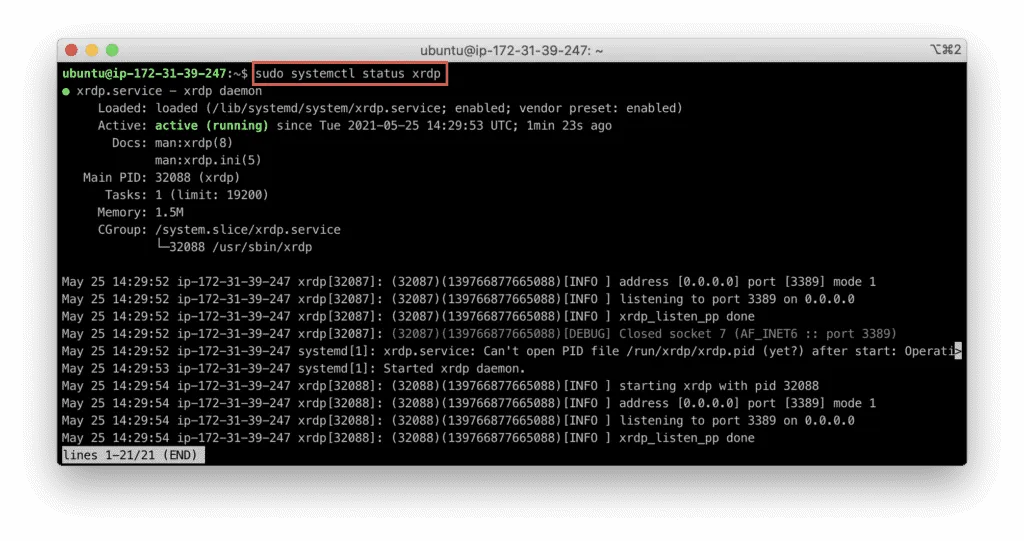
It shows Xrdp service is up and running.
Configuring Xrdp
The /etc/ssl/private/ directory contains a file called ssl-cert-snoil.key that is the core of the Xrdp service.
You need to add the xrdp system user to the ssl-cert system group to allow the service using this file.
Run the following command to accomplish this:
sudo adduser xrdp ssl-cert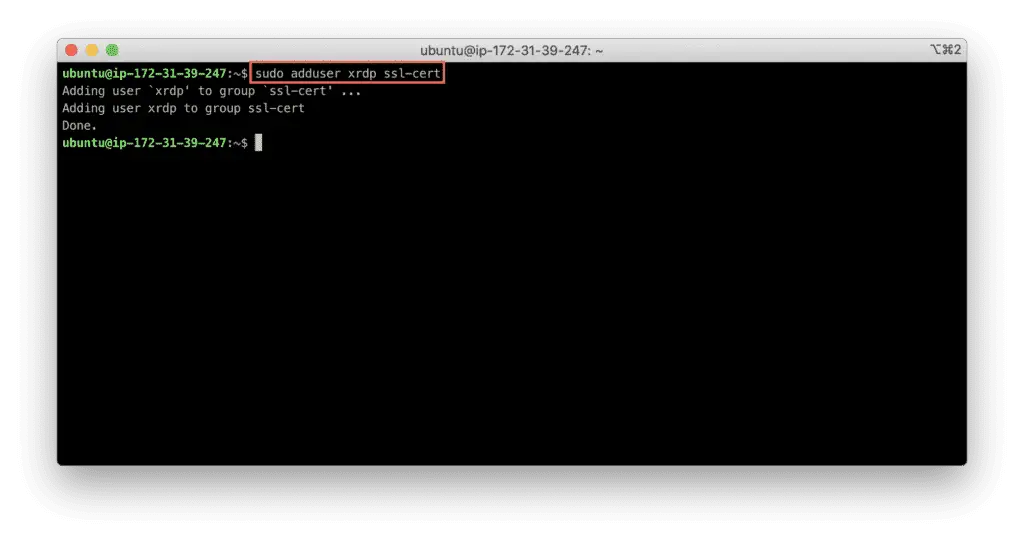
Now, restart the Xrdp service:
sudo systemctl restart xrdp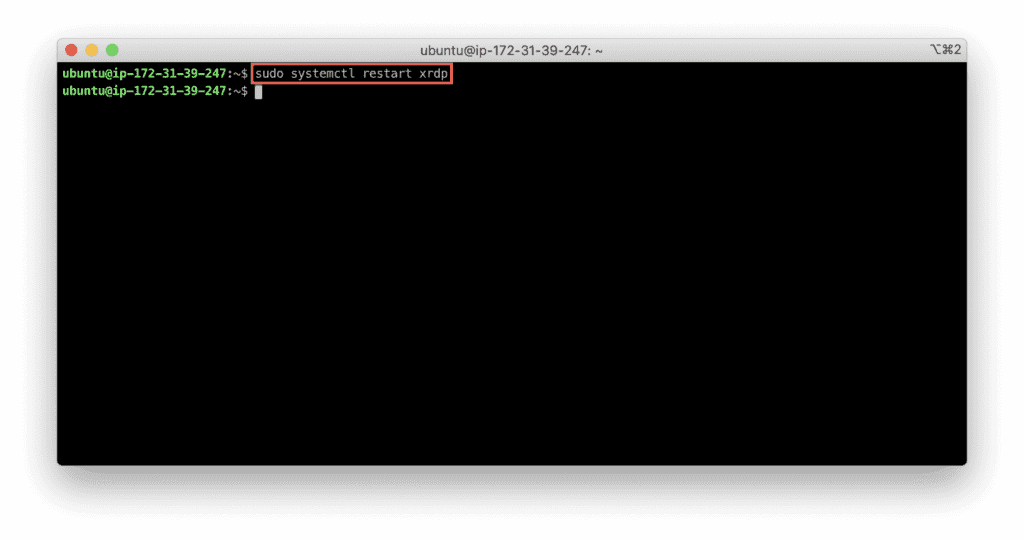
Using Xrdp
In this section, we’ll cover the basic use cases for Xrdp.
Firewall configuration
The Xrdp listens for user interfaces on port 3389, and you need to enable this port if you are going to use ufw.
Use the following commands to allow access to the SSH and Xrdp server’s ports from any source network (0.0.0.0/0):
sudo ufw allow from 0.0.0.0/0 to any port 22
sudo ufw allow from 0.0.0.0/0 to any port 3389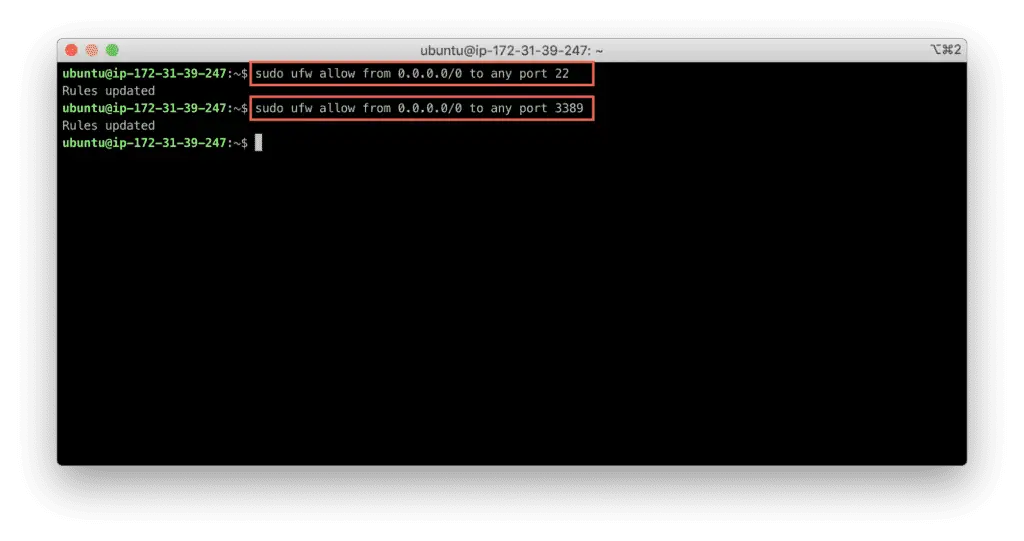
After that, enable and restart ufw:
sudo ufw enable
sudo ufw reload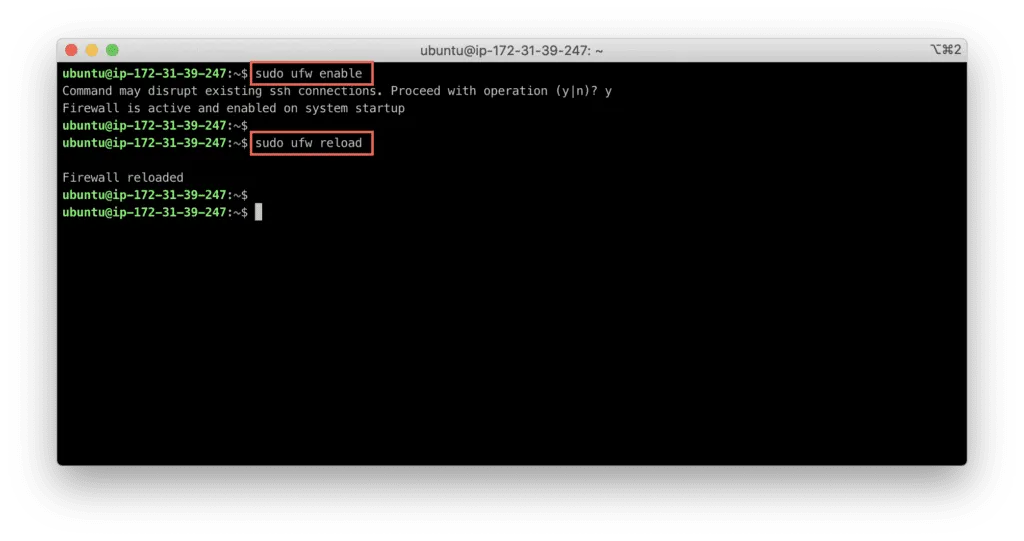
Check the status, if it is allowed or not to the server by typing the command shown below:
sudo ufw status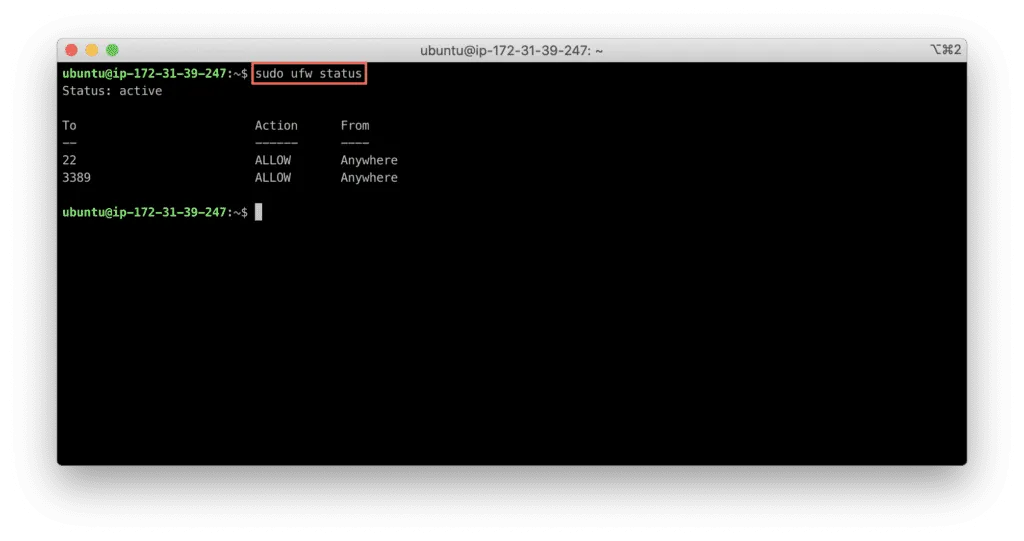
Connecting to the Xdrp server
Now, you can connect to your server using any RDP client software.
MacOS
For Mac users, I’d recommend moving forward with Microsoft Remote Desktop for Mac.
Open the application, click Add PC button and fill in the PC name with your server hostname or IP address.

Connect to the server to get an amazing experience:

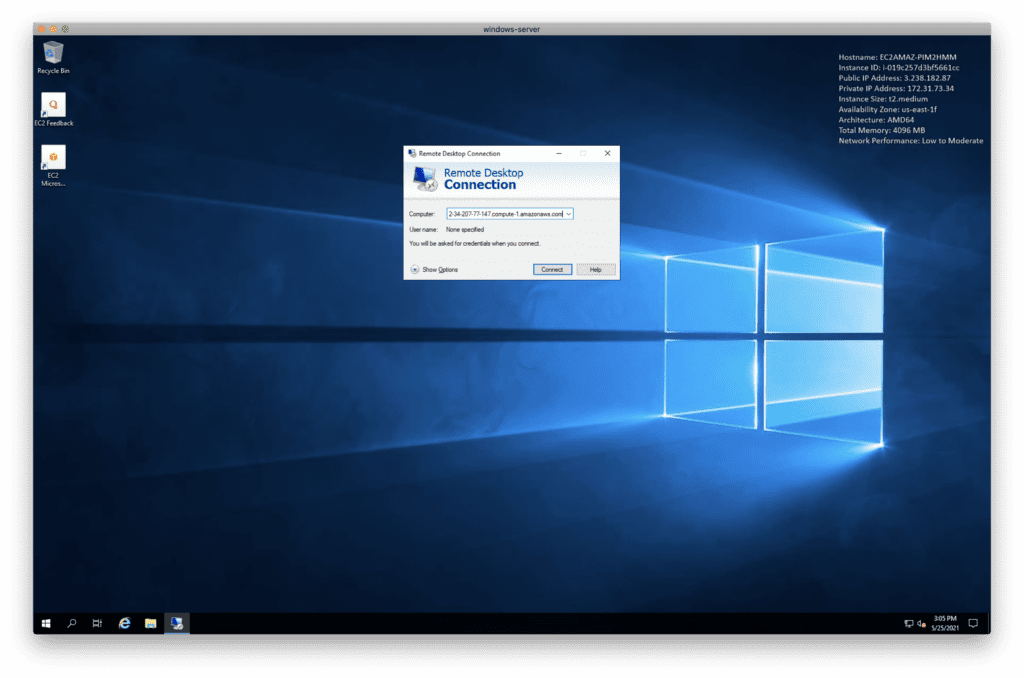
Windows
In the Windows search box, type “Remote Desktop Connection“.
After entering your remote system’s IP address, click ‘Connect‘:
Ignore the certificate issues in the window that asks you to confirm your remote system’s identification.
Click “Yes” to continue with the connection.
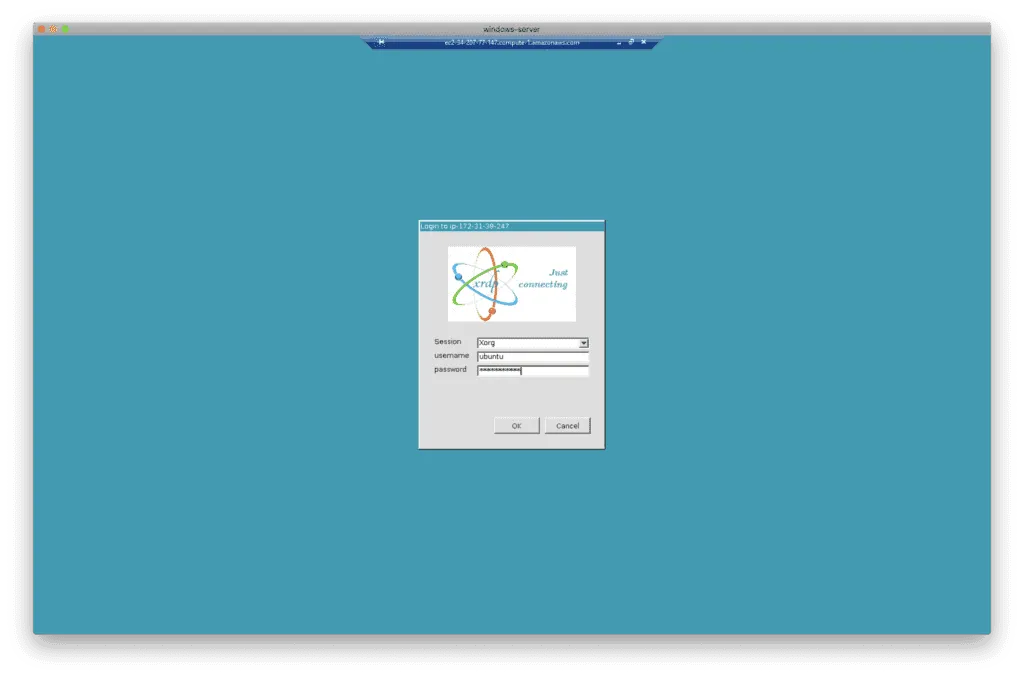
Give your credentials on the Xrdp login page and click “OK“.
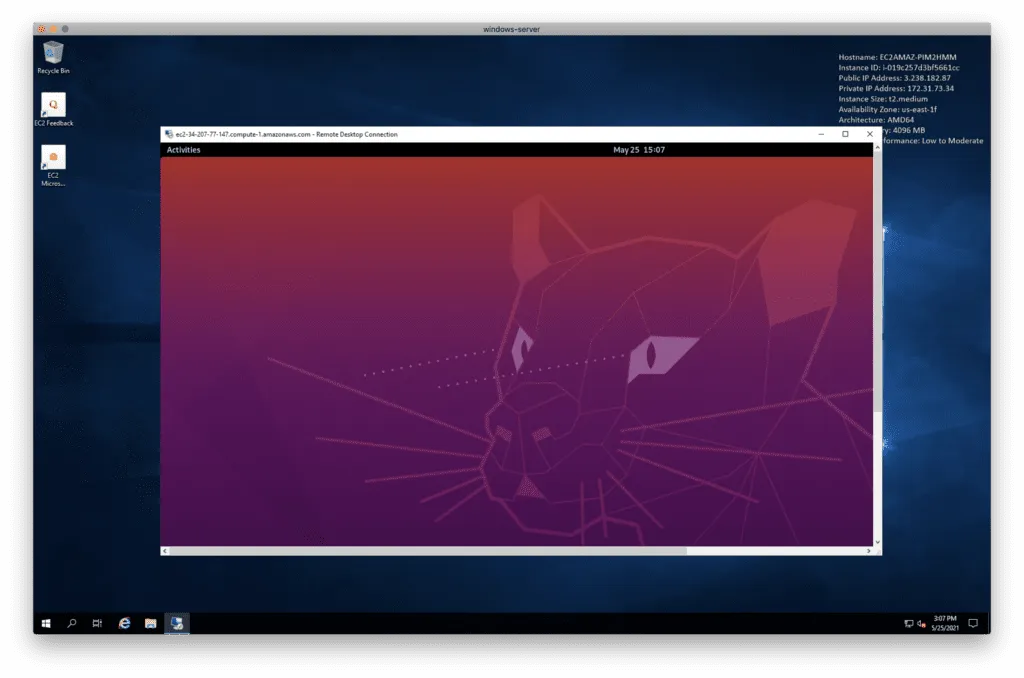
After authentication, you’ll get the same experience.
Fixing the Black screen issue
During connection to the Xrdp server, you might get a black screen window rather than an expected GUI experience.
To fix this issue, ssh to your server and make the following changes to the /etc/xrdp/startwm.sh script:
sudo nano /etc/xrdp/startwm.shHere are the changes:
unset DBUS_SESSION_ADDRESS
unset XDG_RUNTIME_DIR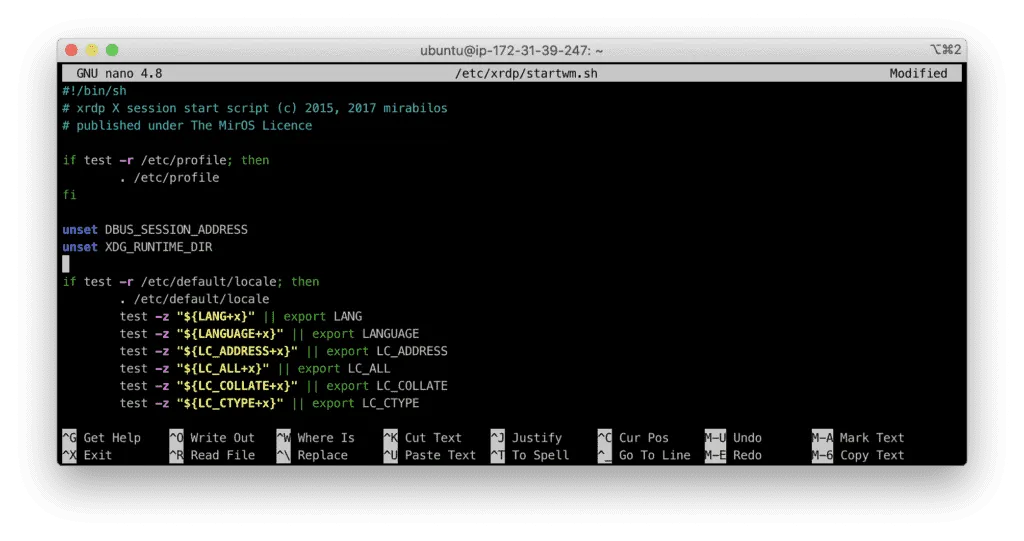
Restart Xrdp:
sudo systemctl restart xrdpReconnect to your server and start using the Ubuntu Gnome desktop as expected:
Summary
Xrdp is a free and open-source alternative to Microsoft Remote Desktop Protocol that allows you to use a graphical interface to access your Ubuntu server from your local device. This post focuses on installing the Gnome Desktop environment and Xrdp server to allow you to use the Remote Desktop client.
